From Wax to Wearable: The Art of Wax Carving in Jewellery Making
- Smoke and Ash
- Mar 31
- 3 min read
I have now started developing my new collection which I am really excited about. In this collection there will be lots of new chunkier style rings and with that comes a lot of wax carving and wax work for me which I am loving experimenting with.
The inspiration behind the new collection is the lost city of Atlantis and the ocean relics you might find down there or in a mermaids jewellery box, because the Atlantians were mer-people am I right? Think molten metal representing the ripples and waves or the light dancing on the sand under water. Fossilised shells and areas of decay imbedded in the rocky sea beds and bubbles rising from the beneath.
To create these pieces I've had to think abstract, and use new techniques that I haven't done before. Wax thankfully is a very forgiving material to work with. It doesn't matter too much if you carve a little too much away as you can always add a bit more in with a soldering stick. Its also cheap to work with so experimenting doesn't feel too risky.

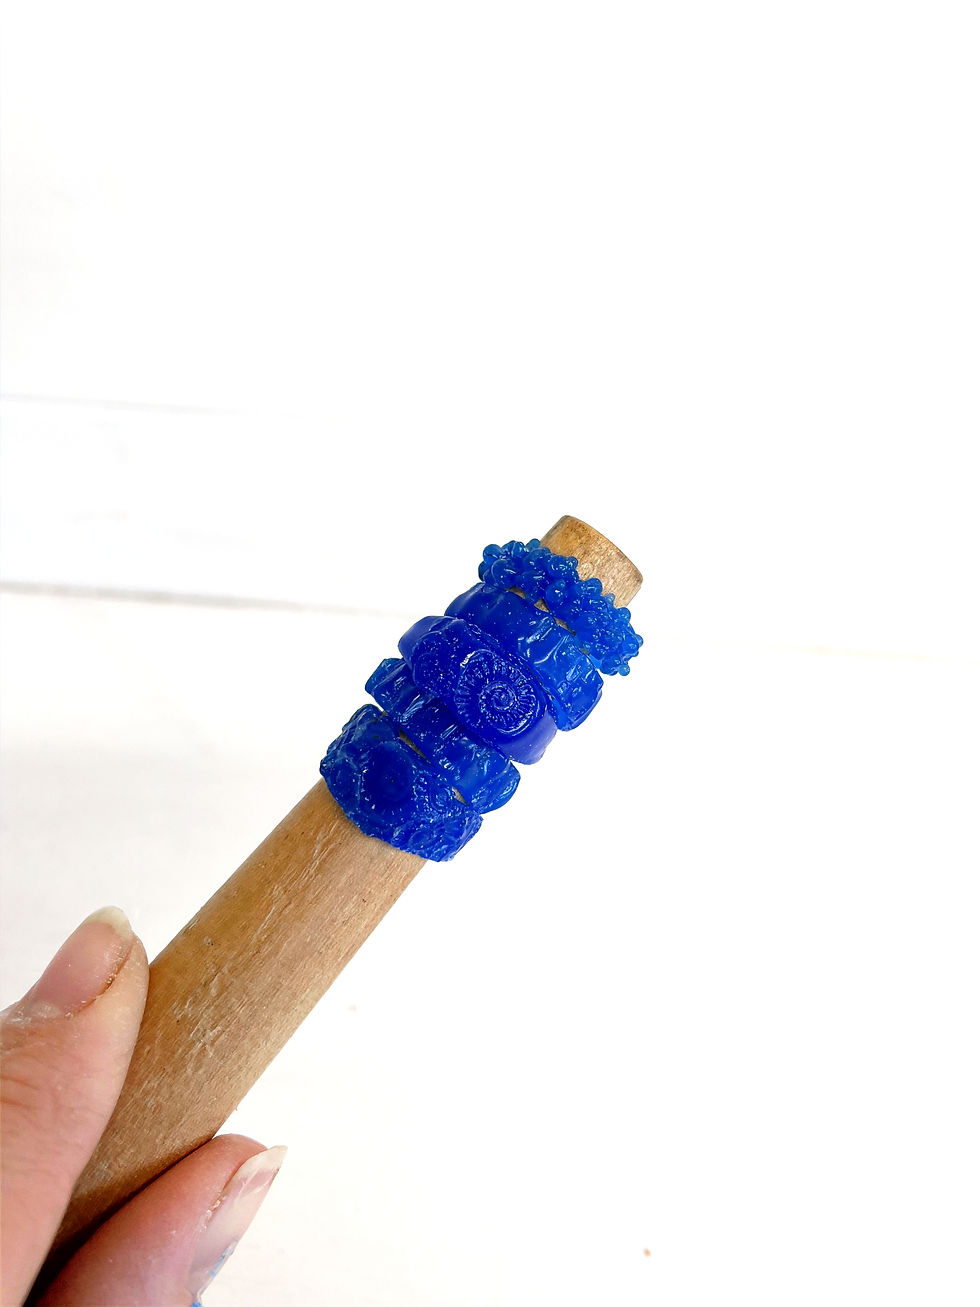
The collection's initial rings are crafted using wax carving and build-up techniques, allowing for organic and creative designs. Each ring starts with a wax ring tube as the foundation, I use three different shapes for different design goals. The first shape is a versatile ring tube with a centered hole, ideal for classic, symmetrical designs. The second shape has an off-center hole, perfect for domed rings that offer contemporary and artistic appeal. Lastly, the flat-topped tube is used for signet rings, providing space for engraving and intricate detailing. These distinct wax tube shapes enable a variety of styles, ensuring each ring is unique and purposefully crafted.

After selecting the style of ring tube, I use my calipers and/or protractor to measure the desired width of the ring before cutting. This provides a guideline for cutting; without it, my saw line would be uneven, resulting in an inconvenient shape to sand down to level. Although wax is inexpensive to work with, creating extra waste is not a sustainable practice.

After sawing my basic ring shape, I can start filing it down to achieve the intended form. This process begins with a special ring sizing mandrel that features a sharp blade on one side. As I twist the wax ring down the mandrel, it carves away the wax until I reach the perfect size. Then, I use my files to refine the outer shape of the ring. This can be a time-consuming task, depending on the thickness of the ring band. I collect much of the wax dust that is filed away to use later for rebuilding the wax or correcting any mistakes.
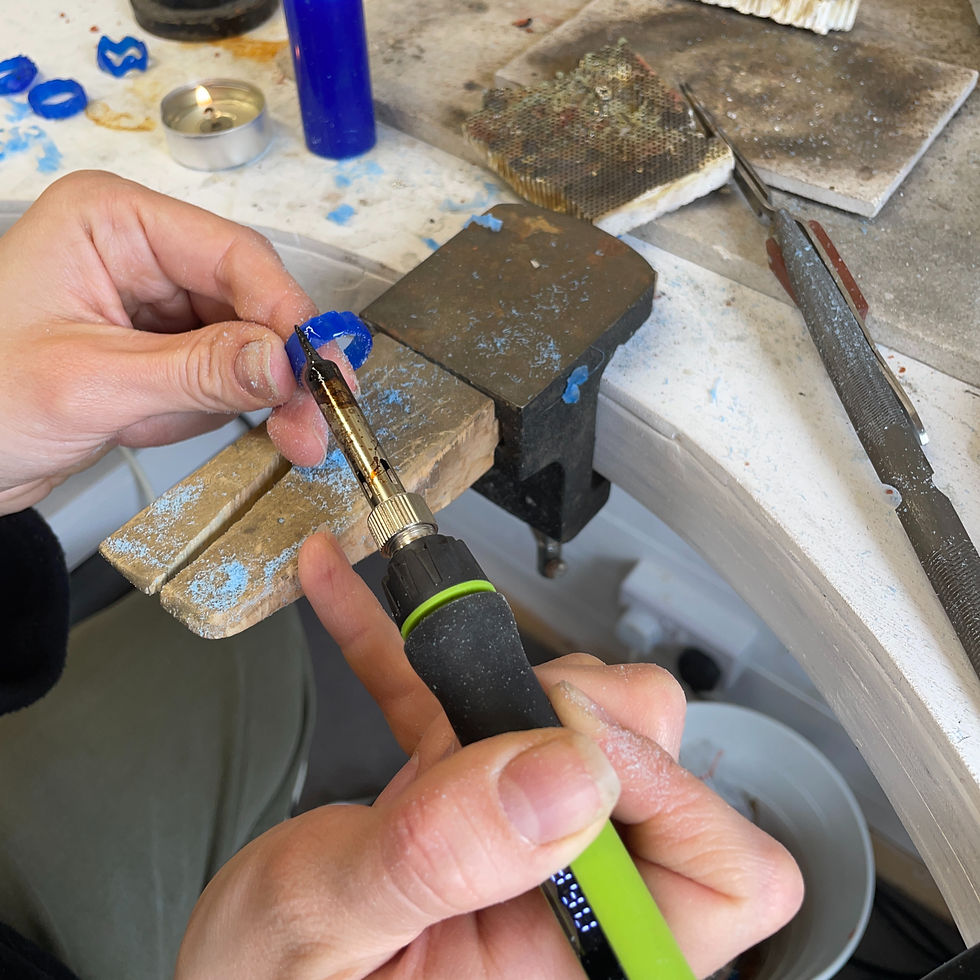
This is the fun part, now the wax ring is the right size and shape I can now start being creative. The first designs have come about just by playing to bring the visions in my head to life. I mainly use a soldering iron that allows me to melt tiny bits of wax and build it back in fluid ways. The soldering iron I use gets very hot and is 390 degrees in temperature at my sweet spot. This allows the wax to flow quickly and freely. I have to be very careful not to burn myself! Another way I have bought my design ideas to reality is by melting the wax with a candle, allowing me to imprint the details of shells and small fossils into the wax.
I am so excited to send these off to my casting agent where they will cast them for me in recycled silver and send them back to me. Along with these first few rings I'm hoping to create matching hoops, earrings and necklace charms. I am planning to launch this new collection along side the start of the Art Trail in June, so make sure you follow along for all the updates. I'd love to know what you think about these initial designs in the comments below.
Sarah xx

Comments